Dot precision and some observations

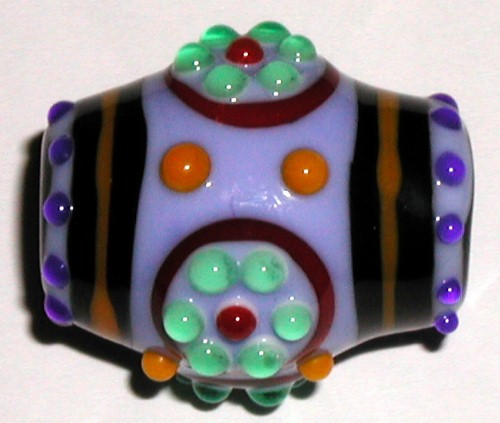
I have been working on my dots for a while. Not as long as some folks like Tom Holland, Brad Pearson and the likes of some real dot experts. This Stoffo bead to the right has some real fine tiny dots and lots of them packed into this bead less than an inch long. Not only dots but pulled dots and hair fine lines. Lots of time, a steady hand and eye-straining work here.
Here are my observations on dots. They are finicky and don't always want to go where I want them to go. Some tricks and tips I learned from Tom and Sage. Make em. Gently coax them into place. I will never forget watching Tom and Sage move glass around, I had never seen anyone do things like they did.
 Below right is an example of some well spaced, formed precision rosettes.
Perhaps some of this is basic stuff you already know or maybe don't even care about. However this is the essence of precision bead making. A dot can be pressed down flat with a marver or tool to help set it into place. I find that marvering dots works well on larger dots not as well with the tiny dots.
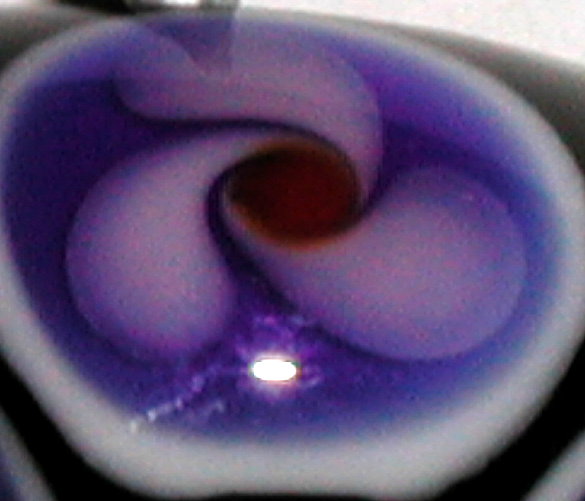
As the dot is freshly attached like this }0 with that representing the connection of the 0 as the dot and the } as the base bead, the connection between the two is very small. The dot 0 can be moved around and pushed in the correct direction to make it go where its supposed to for pattern uniformity or design "correctness'. Dots can easily be made larger by adding more glass, thats easy. Dots can be made smaller by pulling a thread of glass out of the dot. Thats an amazing process and hard to describe but once you see it, you are amazed and forever changed.
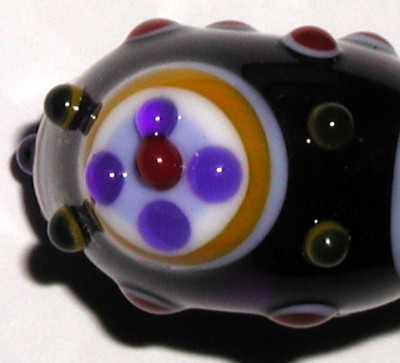 Close dot placement is one of the trickier deals going. If you get a close/tight rosette of dots like 4 or 5 or more, any one dot can blow the whole thing. If the dots touch, forget it. Once your dots touch, the glass will melt together and leave an ugly multi-dot blotch where they join. This guy on the left is about as close as you can come to really messing up some dots but just barely keeping it from turning into a mess. This is what Im talking about when two dots touch. A bit more heat on this and those two dots would have melted into one ugly mess.
Placing tiny dots with a hair fine stringer can be a nervewracking process. Some folks use a triangle hand position so one hand stabilizes the other. Some just wing it, I sometimes steady the bead on something like the torch and then steady my hand on something else to place precise dots. The smaller the dot, the easier it is to get it wrong. Picking dots off the bead before they go haywire is also an important trick to know.
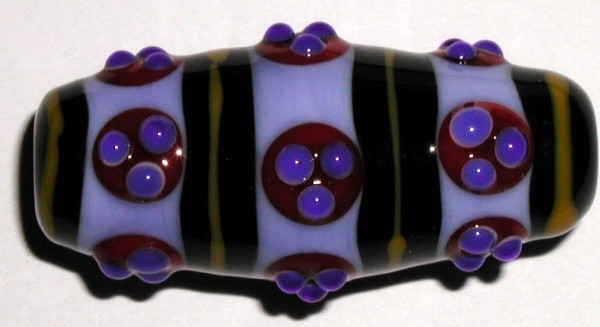
This bead I made yesterday has a series of 3 rows and 5 rosettes per row and 3 dots per rosettes. These dots are placed with satisfactory precision for me. I manage to get the dot orientation set so that in each row the dots orient with one dot on the outside, two towards the center.
I like to twist the dots and often do. I find that 3 dots look better when twisted. At least, they are more visually appealing to me once twisted.
 In addition, heat control is critical. Melting dots down to a point where the glass is joined and there are no "undercuts" on the dot. Its also a fine line between leaving a dot raised and melting it down smooth. Not much more heat is required and the ability to control this is only learned by much practice and experience.
Well there it is a fairly brief overview of dots, my ideas about them, what to look for with them, some ideas about how to get them to go where you want......
posted by Stoffobeads at 8:50 AM
![]()
![]()


0 Comments:
Post a Comment
<< Home